

Framing
Every work is sold unframed, so you can choose a frame that suits your space. I’m happy to send your work straight to a framer of your choice, who can guide you on style, colour and presentation.

Framers I recommend
- Artmount & Framing MattersEden Terrace (opens in a new tab)
- KS Thompson Picture FramersEpsom (opens in a new tab)
- Homestead Picture FramersHenderson (opens in a new tab)
- The Framing StudioEden Terrace (opens in a new tab)
Somewhere else? Any good framer who works with archival materials will do a beautiful job.
Archival pigment prints
Two ways of framing.
 Shown in a simple white frame
With a mat
A mat board sits between the print and the frame, giving the work room to breathe. A simple white frame keeps it clean and contemporary, so the colour leads.
 Shown in an ornate frame
Without a mat
The print is mounted on archival board and framed right up to the image. An ornate frame gives a richer, more traditional finish. Your framer will have many options they can show you with your artwork.
Either way, a wider frame can also give the work a sense of space, and the illusion of a larger piece.
Glass
Choose UV-protective glass to keep the colour true. 99% UV or museum glass is ideal, and AR70 with reflection control is a good alternative.
Mat
A mat suits most works up to 80cm. Above that I’d leave it out, as the print can relax over time. Avoid foam spacers.
Mounting
For prints larger than A2 (42 × 59.5cm), I recommend mounting onto 5mm acid-free rigid foam board to keep the work smooth and flat.
More detail for your framer
When your print arrives. It comes rolled in a sturdy tube with acid-free tissue, ready to frame. It can stay in its packaging somewhere cool and dry until you’re ready. Unroll it with care, or leave that to your framer. If it’s going straight behind glass, give it a few days to settle first.
On mounting. Some framers consider foam board mounting non-archival. It’s a widely accepted, practical approach for bigger works, and the mount becomes part of the finished piece. Your framer can advise what suits the size and how you’d like it presented.
Archival canvas prints
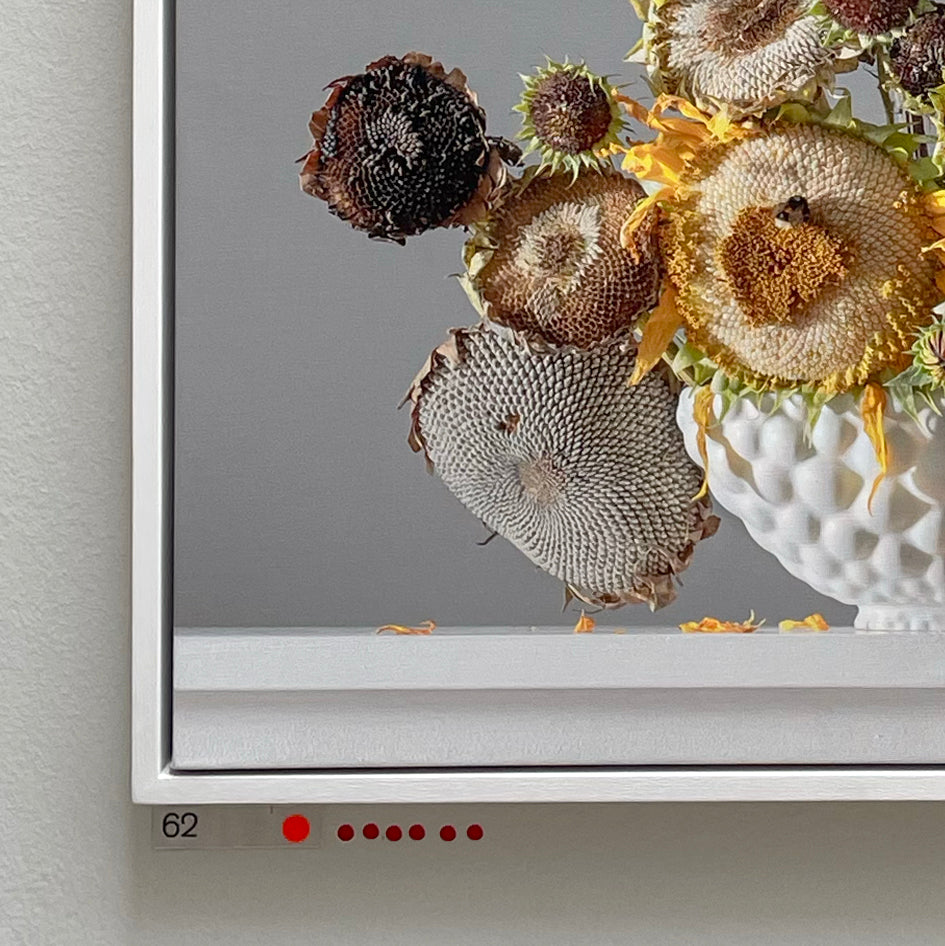
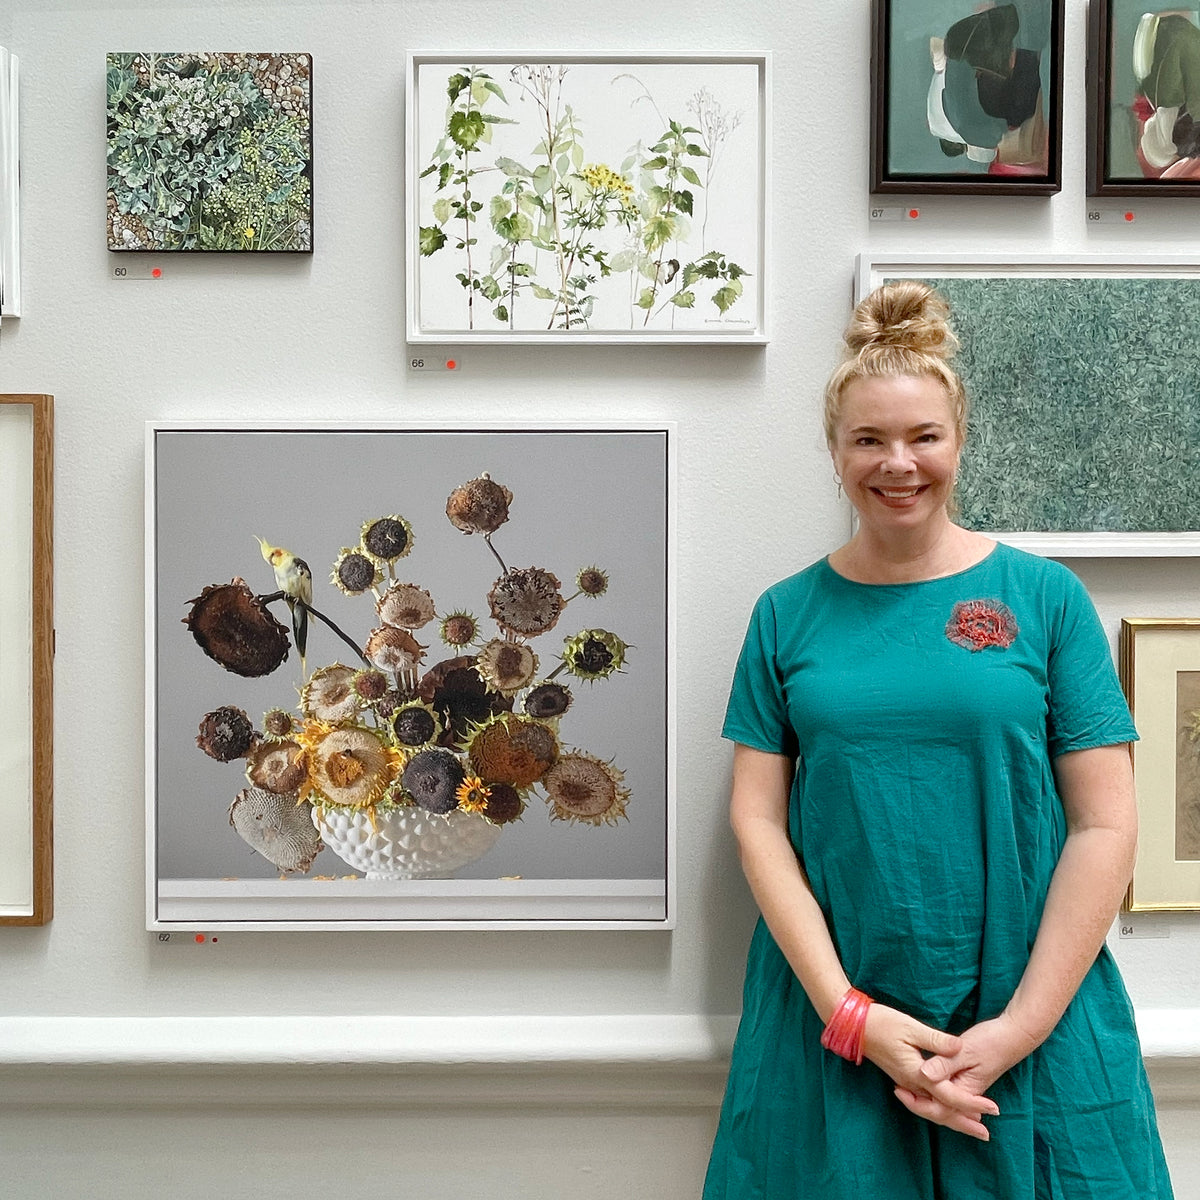
No glass needed
Canvases are finished with a protective UV varnish, so they don’t need glass.
Stretched
Each canvas is stretched over a timber stretcher frame.
A tray frame
A tray (or float) frame leaves a small, even gap around the canvas so its edges stay visible. For most interiors I’d choose white. Your framer can help with proportions.
More detail for your framer
The tray frame. Choose a tray deep enough for the canvas to sit flush with, or just inside, the front edge. Your framer will measure the stretcher depth. A small, even gap of around 5–10mm lets the canvas float.
Fixing and handling. The canvas is fixed into the tray from the back, through the stretcher bars, never through the canvas itself. Hold it by the stretcher bars and avoid touching the printed surface or pressing on the back, which can mark the front.
Found the one?
Send me a photo of your wall and I’ll show you how it looks in your space.